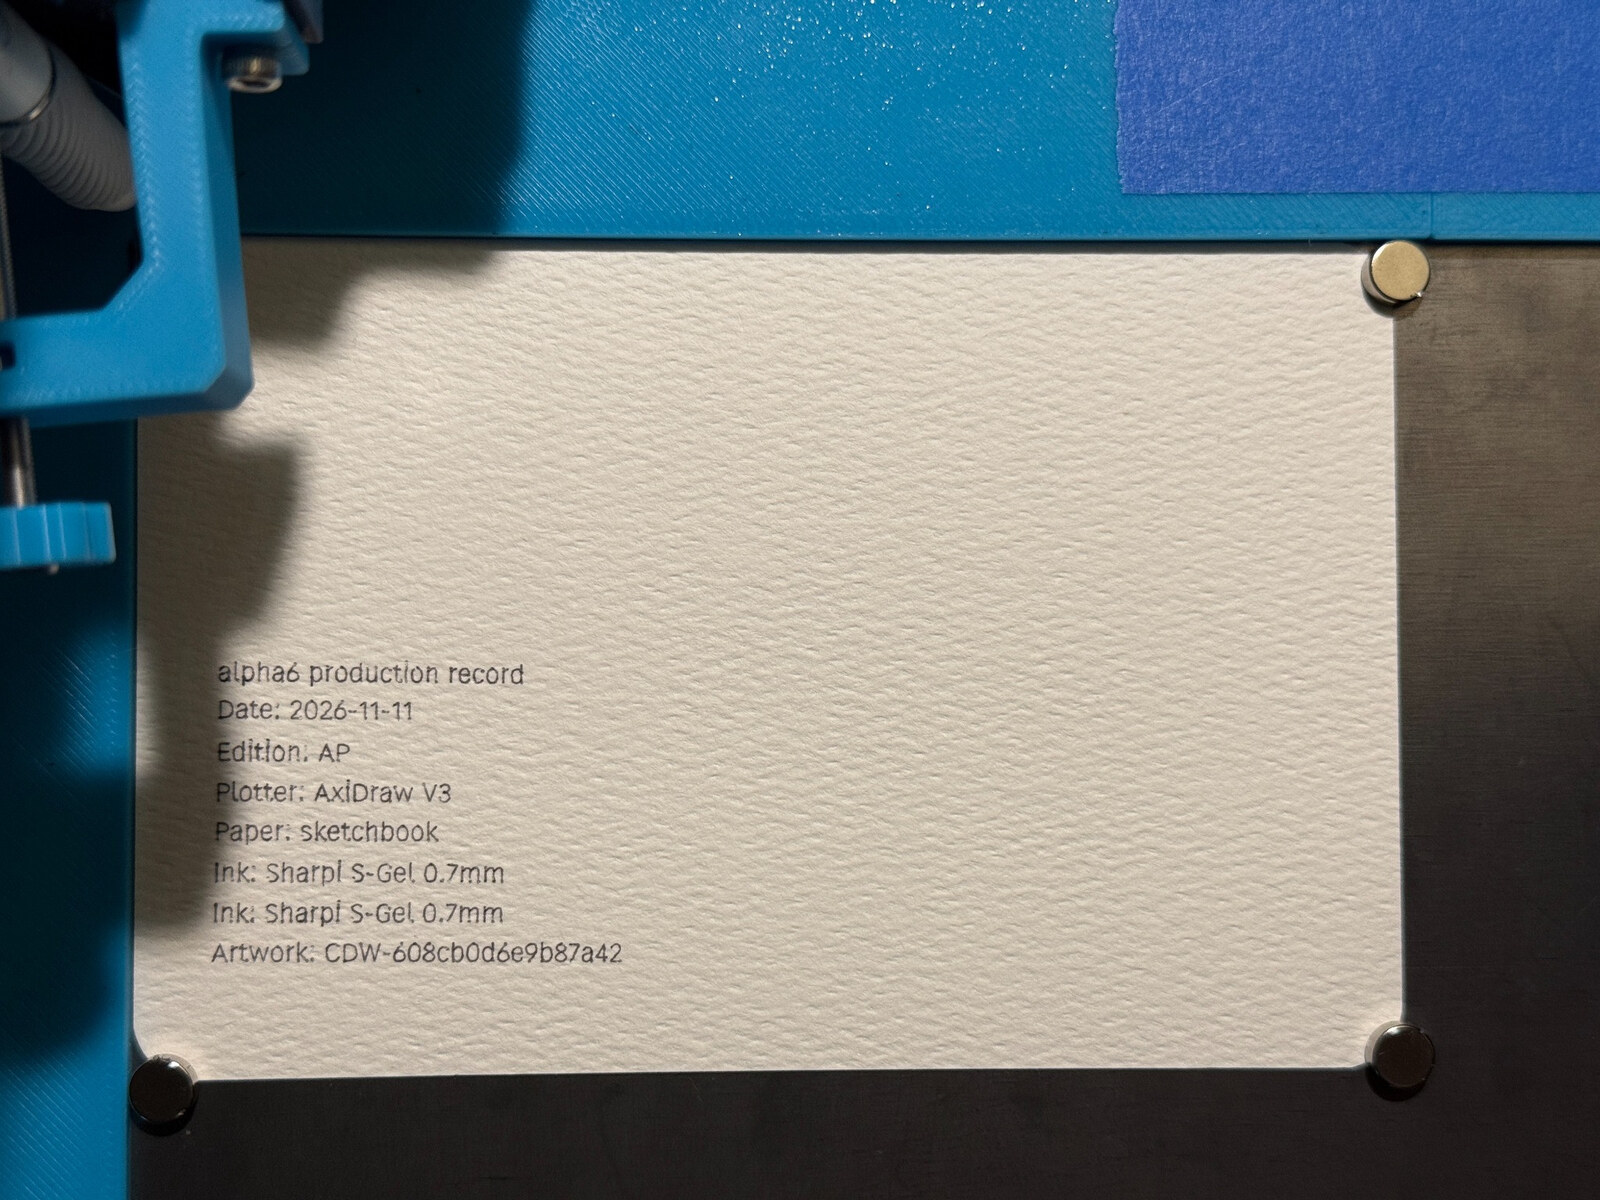
A record on the back of the artwork
The production record gives me a place to keep details about a finished plot: the plotter, paper, pens and inks, date, duration, and notes. It also provides the information for a plotted record on the reverse of the artwork.
I tested that output on heavy postcard stock using a gel pen. The text was readable, and this combination showed no visible bleed-through or show-through. Other paper and ink combinations will need their own tests.
The layout is intended to remain a compact physical block rather than grow with the size of the artwork. A record that fits on a postcard should also sit comfortably in the corner of a larger piece.
The test prompted a few refinements: a more visible heading for the record-back controls, a default text size of 3 mm, and 10 mm left and bottom margins. For now, the proof is exported as an SVG and plotted separately. A more integrated front-and-back workflow is still ahead.
Eight pages from one sheet
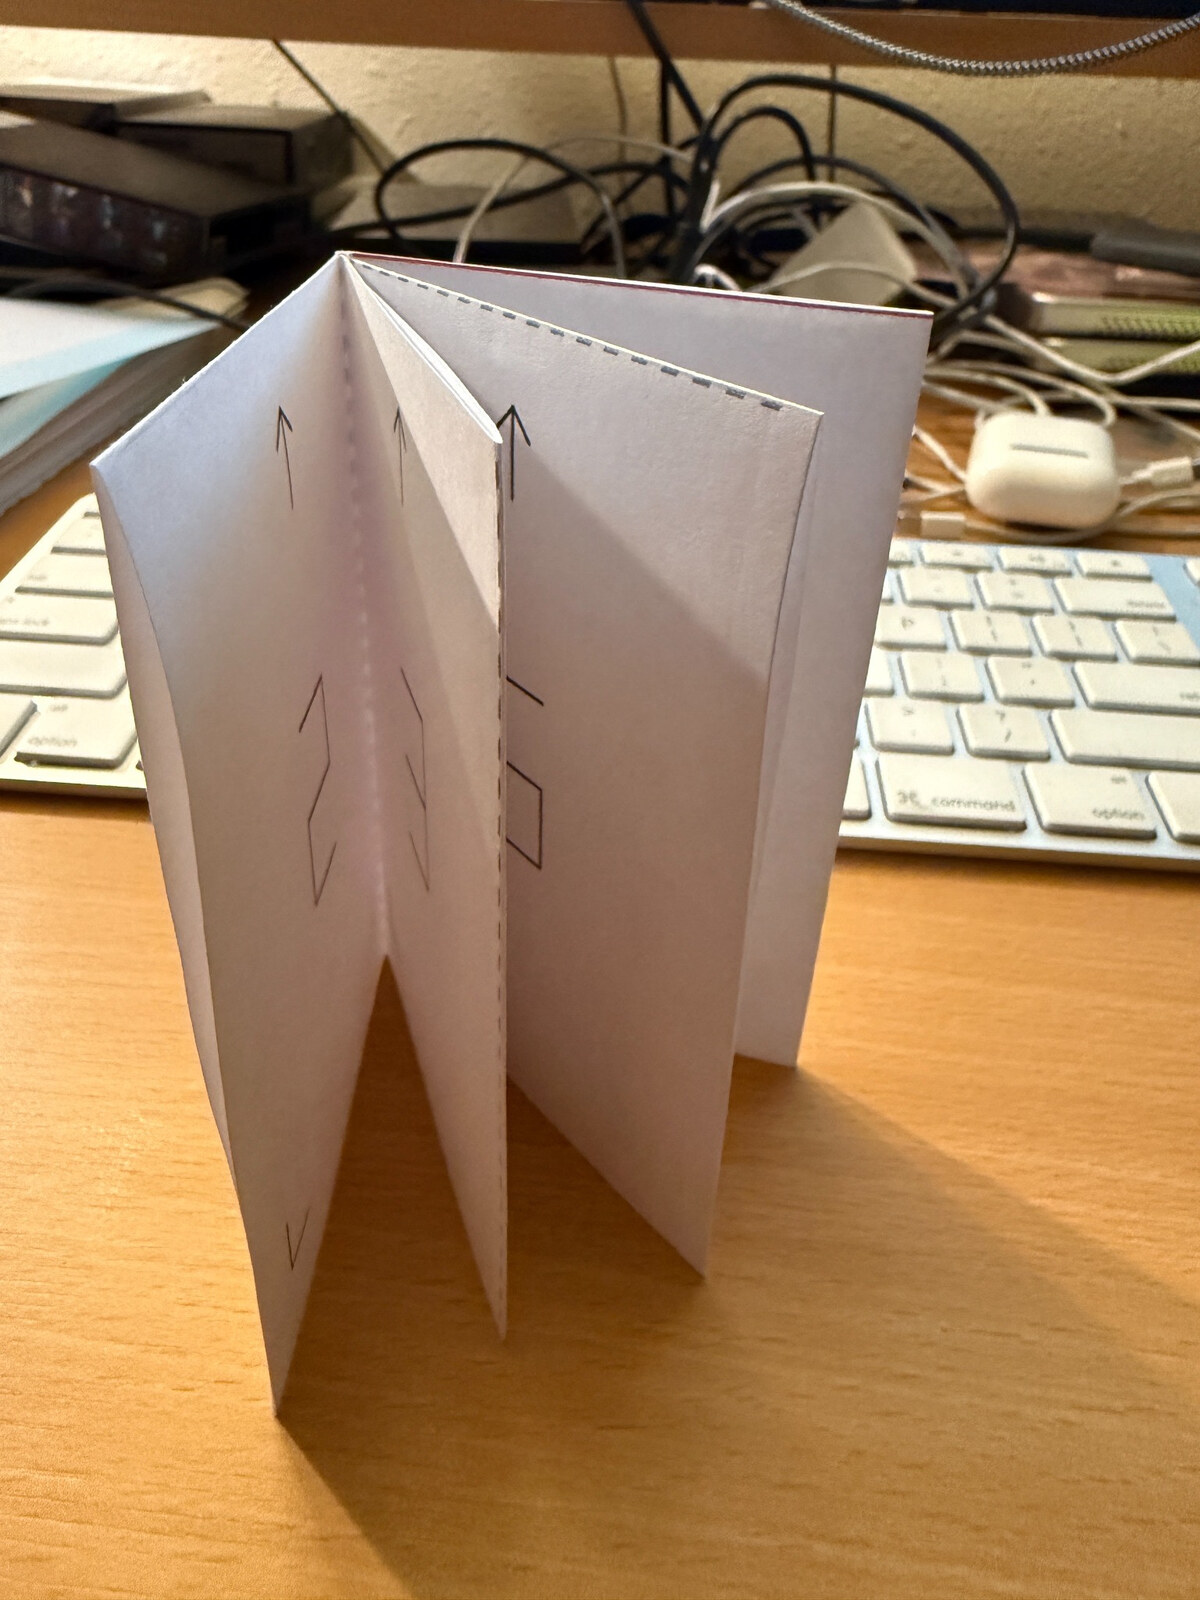
The next test was a one-sheet zine: four columns, two rows, a center slit, and a sequence of folds that turns the sheet into eight pages.
I started with a numbered inkjet proof before adding artwork. The page order was correct, and the text read upright after folding. The page widths, however, did not look consistent. The source layout had equal-width panels, but the measurements on the print were consistent with the page having been reduced slightly and centered on the sheet.
An actual-size SVG plot improved the widths, but the alignment still needed attention.
The jig had moved
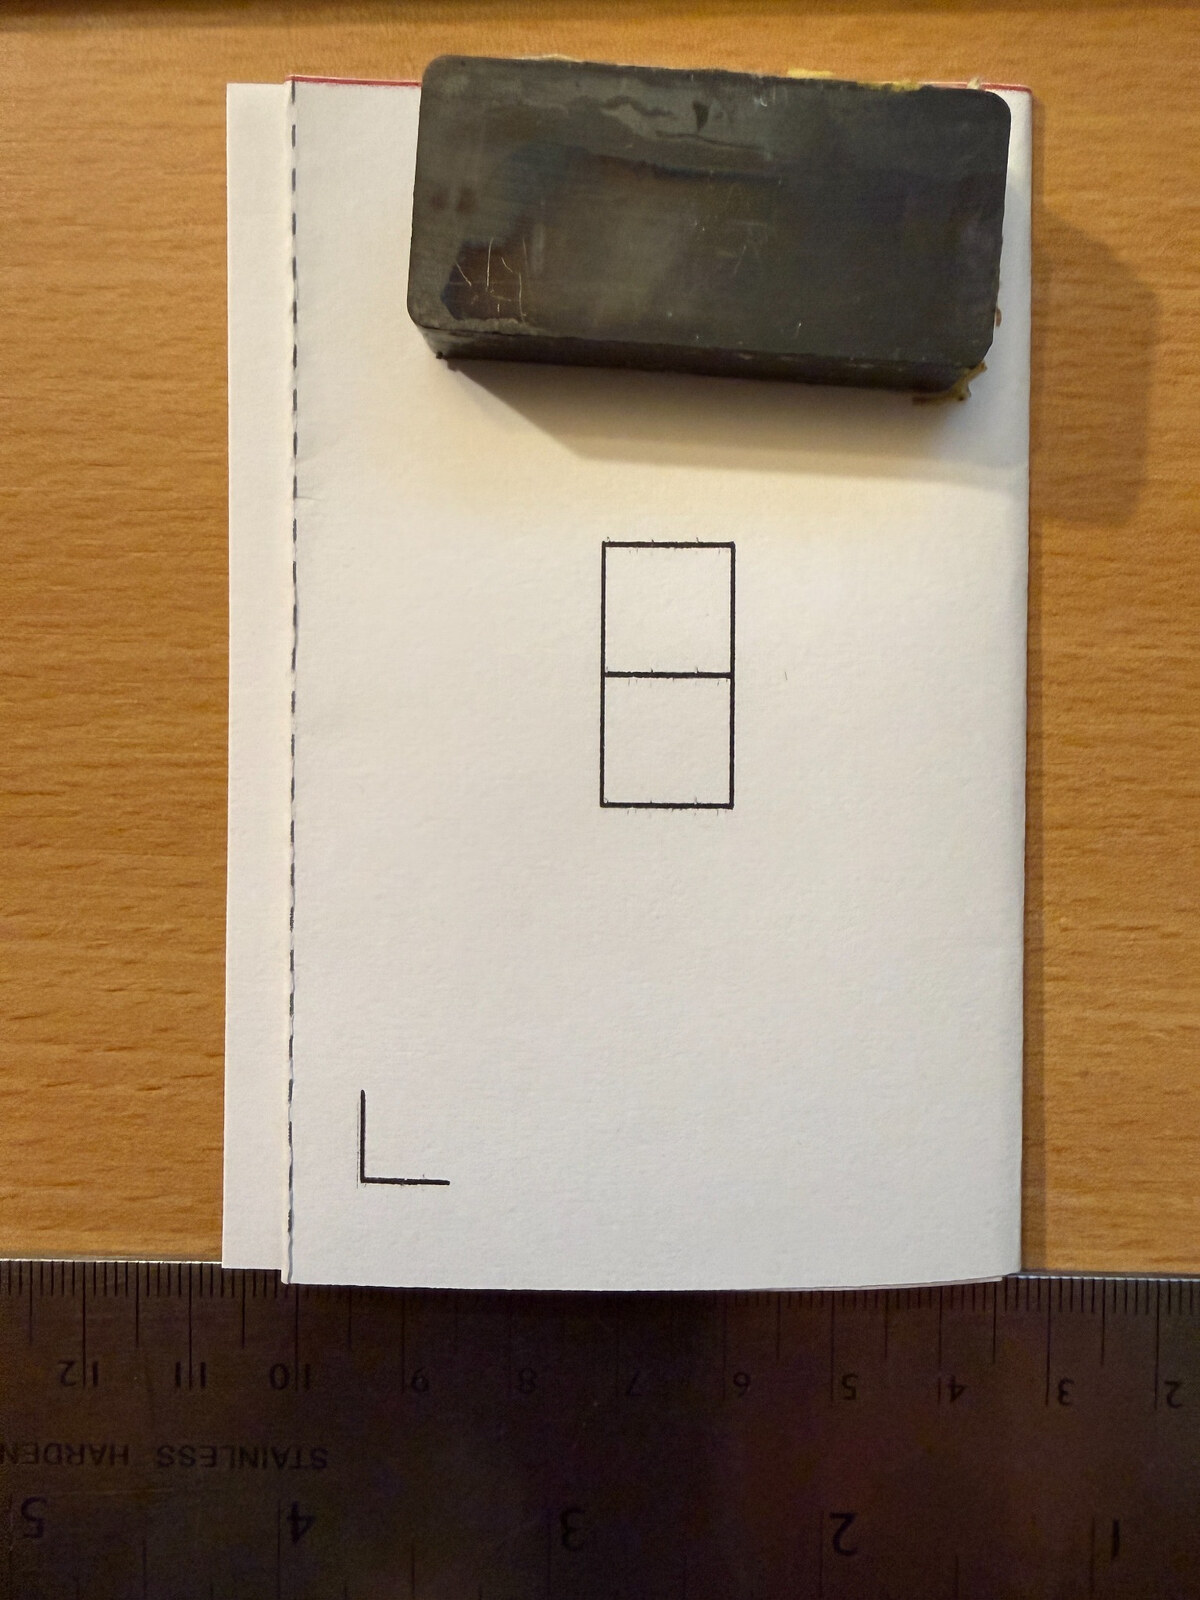
On one plot, the corner marks measured about 4 mm from the long paper edge at one end and 7 mm at the other. The drawing was angled relative to the sheet. The paper jig had shifted forward.
After repositioning it, the next plot was much better. That helped separate the layout questions from the physical registration problem. A folded object makes small alignment errors much harder to ignore.
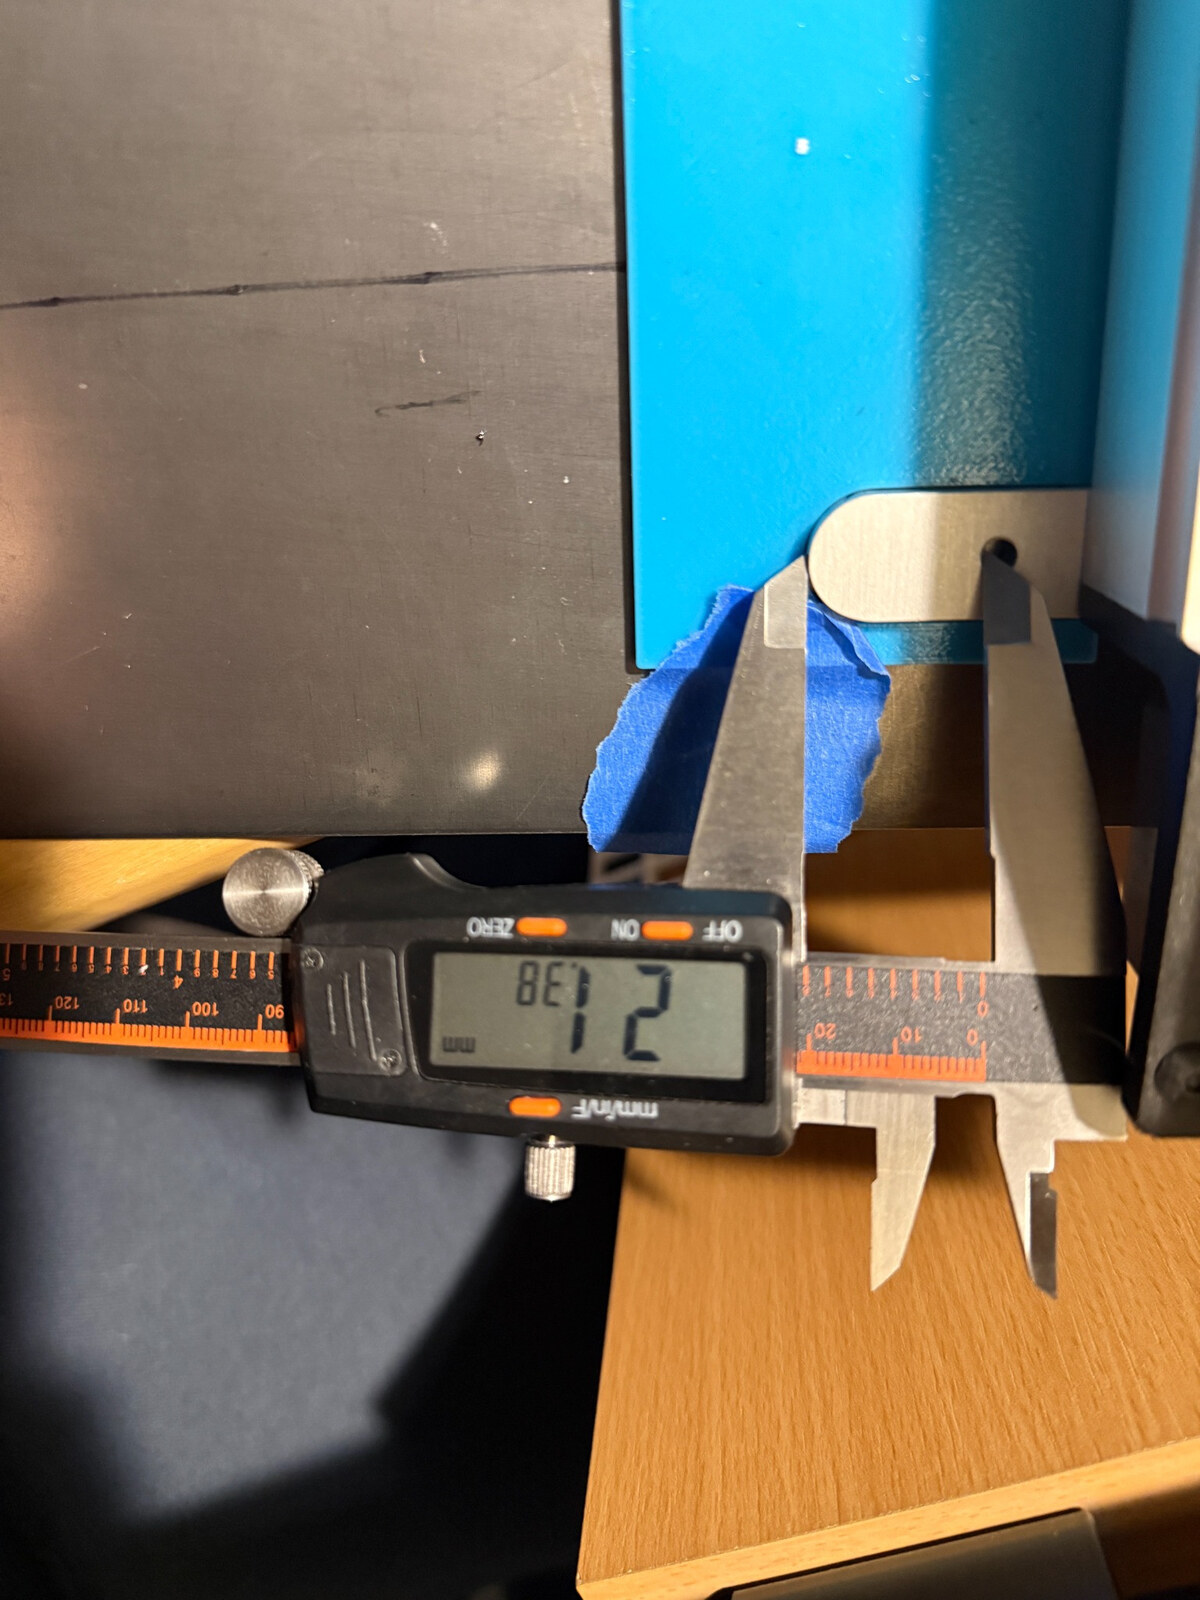
It also gave me a reason to revisit the jig. The current pockets leave some movement around the AxiDraw’s outrigger feet. I’ve started measuring the feet and their holes for a revision that locates more positively, potentially using pins and a removable snap-in connection. A small fit test should come before printing the whole jig again.
Next: artwork in the pages
The next step is to finish checking the fold and slit alignment, then move beyond numbered panels to actual artwork.
The production record helps preserve the details behind a plot. The zine gives a group of drawings a sequence, something to turn through rather than view all at once. Both are reminders to check the entire process: the file, the output settings, the paper, and the hardware holding it in place.